How to Configure Roles & Permissions?
Not everyone needs to see everything. Roles allow you to create custom access levels—like a “Warehouse Manager” who can check gear in/out but cannot see financial reports.
To access the Roles list: Navigate to Settings > Users & Access > Roles.
System Roles vs. Custom Roles
When you sign up for Rentablez, you are automatically assigned the Admin role.
- System Admin: This role is Protected. You cannot edit or delete it. This ensures you never get locked out of your own account.
- Custom Roles: These are roles you create for your staff (e.g., Sales, Technician, Accountant).

×
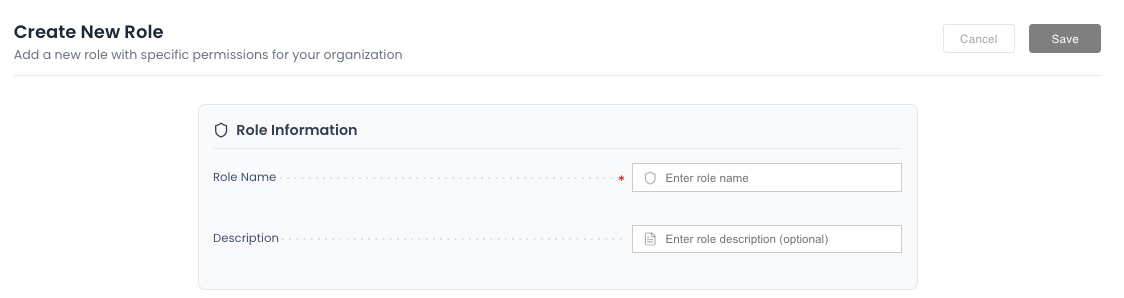
How to Create a New Role?
- Navigate to Settings > Users & Access > Roles.
- Click + Add Role.
- Role Information:
- Role Name: Give it a clear name (e.g., “Junior Staff”).
- Description: Optional note about what this role is for.
×
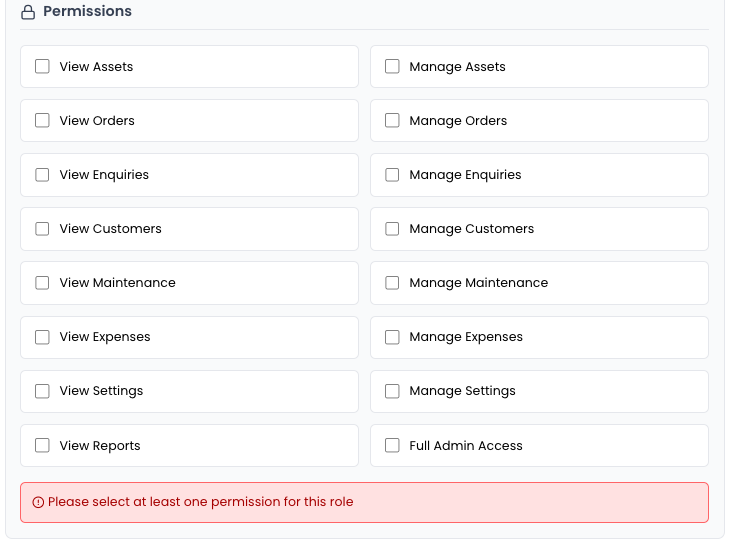
Configuring Permissions
The real power is in the checkboxes. You can toggle specific capabilities for each module.
View vs. Manage
For almost every module (Assets, Orders, Enquiries), you will see two options:
- View: The user can see the data but cannot change it.
- Example: A technician can see the Orders list to know what to prep.
- Manage: The user can create, edit, and delete data.
- Example: A sales manager can create new Orders.
×
Special Permissions
- View Settings: Allows access to company configuration.
- Full Admin Access: Grants everything. Be careful who you give this to.
Assigning a Role
Once you save the Role, go back to the Users tab to assign it to a staff member.