How to add company information?
Think of your Organization Profile as your business’s ID card. Set your name, logo, and address once, and we’ll automatically stamp them on every quote, invoice, and email you send.
To add your company information, start by heading over to Settings > Organization Settings.
How It Works
The organization settings form allows you to configure your business identity in one place. Once saved, these details automatically populate across all your documents (quotes, invoices), communications, and webstore—saving you time and ensuring consistency.
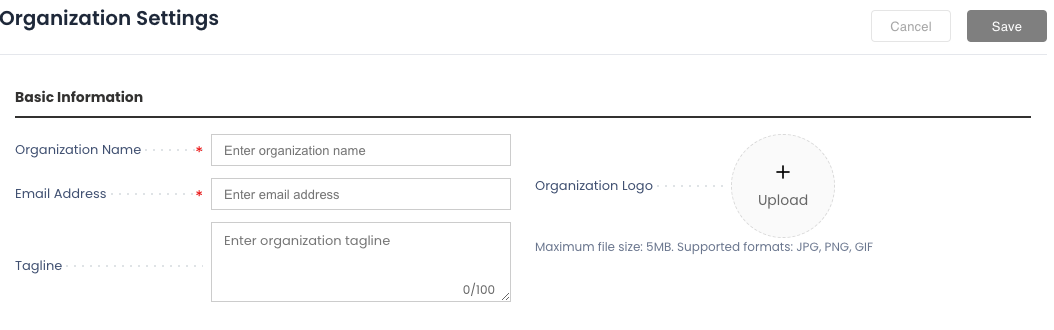
Business Details
- Organization Name: Your business name as it appears on invoices and documents.
- Organization Email: Main email for system notifications and updates.
- Tagline: A short phrase describing your business (e.g., “Premium Camera Rentals”).
- Logo: Upload your company logo (supported JPG, PNG, and GIF formats; maximum 5MB). Use transparent background for best results.
- GST Number (India only): Appears when India is selected as the country. Enter your GSTIN for tax compliance on invoices.
Contact Information
- Phone Number: Main business landline or contact number.
- Mobile Number (Optional): Primary mobile contact.
- WhatsApp Number (Optional): Enable quick customer chat via WhatsApp.
- Mobile Number 2 (Optional): Additional mobile number if needed.

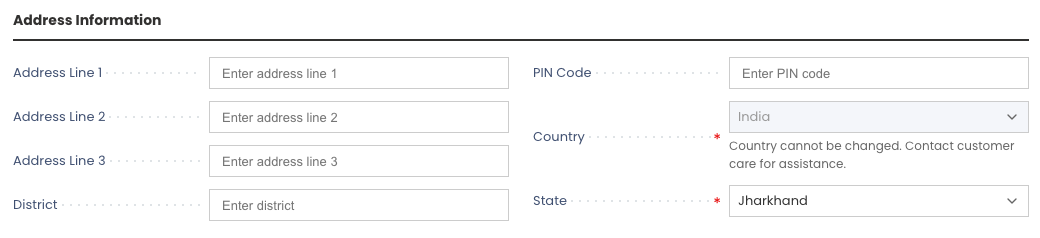
Business Address
- Address Line 1: Primary street address with building and floor details.
- Address Line 2 (Optional): Continued address details.
- Address Line 3 (Optional): Additional address information.
- District/City: Your local area or city.
- Country & State: Select from dropdowns — state options update based on the selected country.
- PIN Code: Your postal code.
You can also use the address search to auto-fill your address details using Google location lookup.
Saving Your Changes
Once you have filled in all the required fields, click the Save button in the top-right corner of the screen. The system will immediately update your profile, and any new documents generated from this point on will reflect these changes.
Your organization settings are now configured. These details will appear across all customer communications and business documents in Rentablez.