How to Manage Locations?
If your business operates from more than one place—like a “Head Office” and a “City Warehouse”—you need to know exactly which gear is where. Locations help you track inventory across sites so you never send a customer to the wrong address.
To manage your locations, start by heading over to Settings > Location.

The main location dashboard gives you a clear overview of all your business sites. From here, you can see existing locations, edit their details, or add new ones to expand your operations.
How It Works
Every asset in Rentablez is assigned to a specific location. When you create an order, the system automatically checks availability at the pickup location, ensuring smooth operations across all your business locations.
Location Details
- Location Name: Give your location a clear name that describes its purpose (e.g., “Head Office” or “City Warehouse”).
- Address: Complete address that appears on delivery notes and pickup instructions.
- Pin Code: Your location’s postal code.
- City: The city where this location is situated.
- State Name: Select the state from the dropdown.
- Country Name: Select the country from the dropdown.
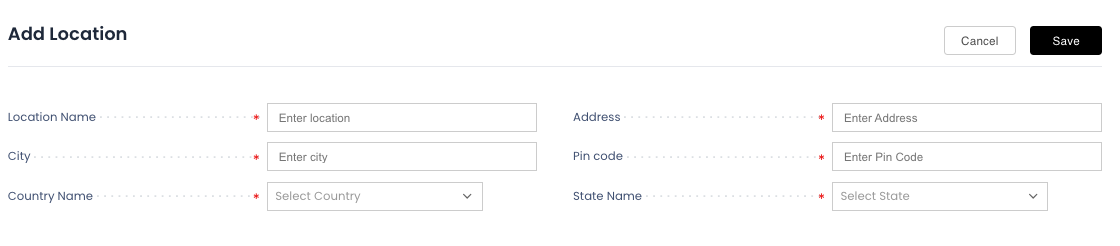
When adding a new location, ensure all address details are accurate as they will appear on specific customer-facing documents. Accurate location data helps in precise inventory tracking and logistics planning.
Saving Your Changes
Click the Save button to add the location. You can now assign assets to this location and track inventory across all your business sites.
Your locations are now set up. Assets can be organized by location, and availability will be tracked separately for each site.